This process is simple and most people should use MFA when developing a serious AWS application. Follow the following steps to enable MFA for AWS.
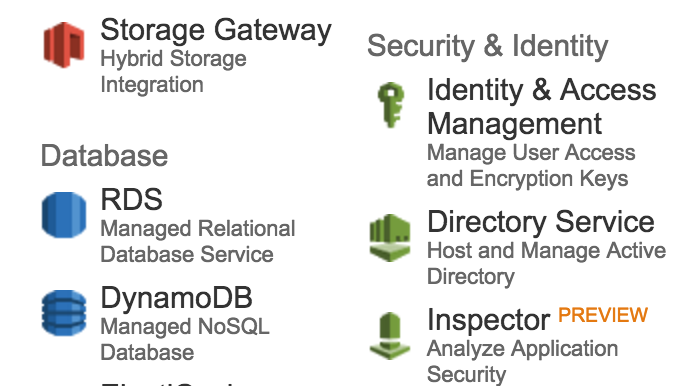
- Launch the AWS Console with your AWS Account. From the AWS Console, select “Identity & Access Management”.
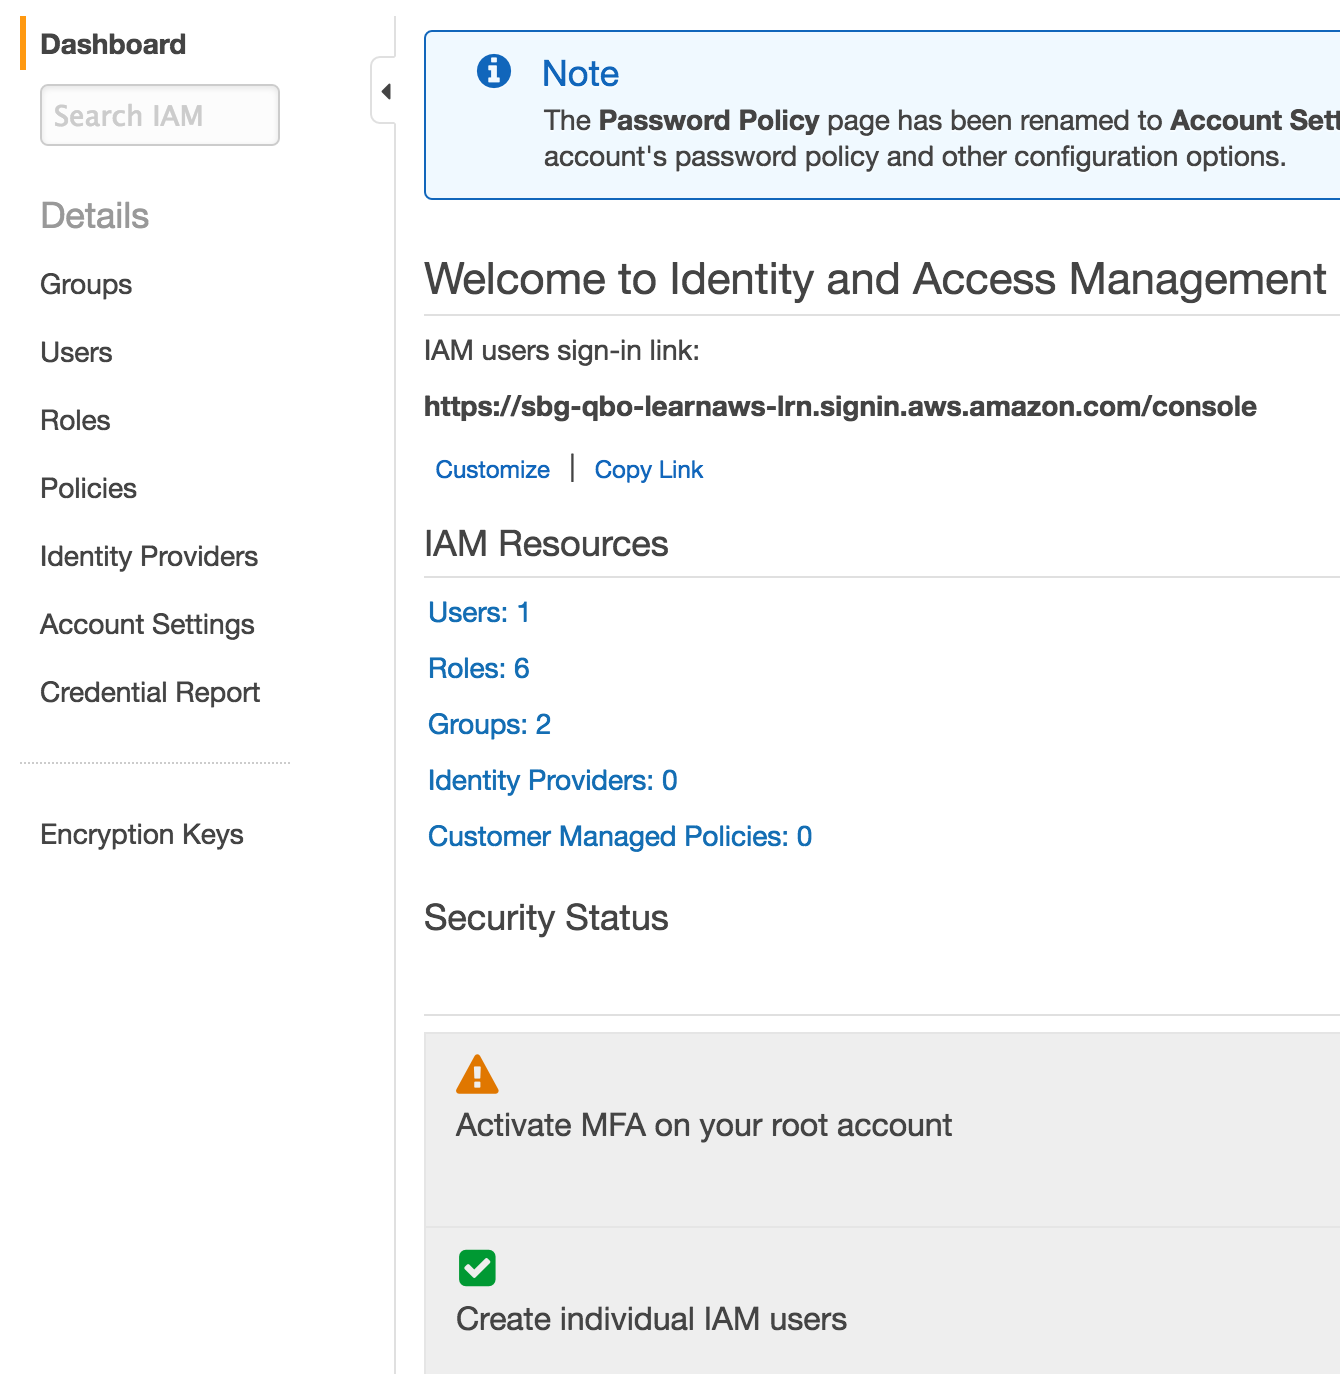
- Select “Users” tab on the left side.
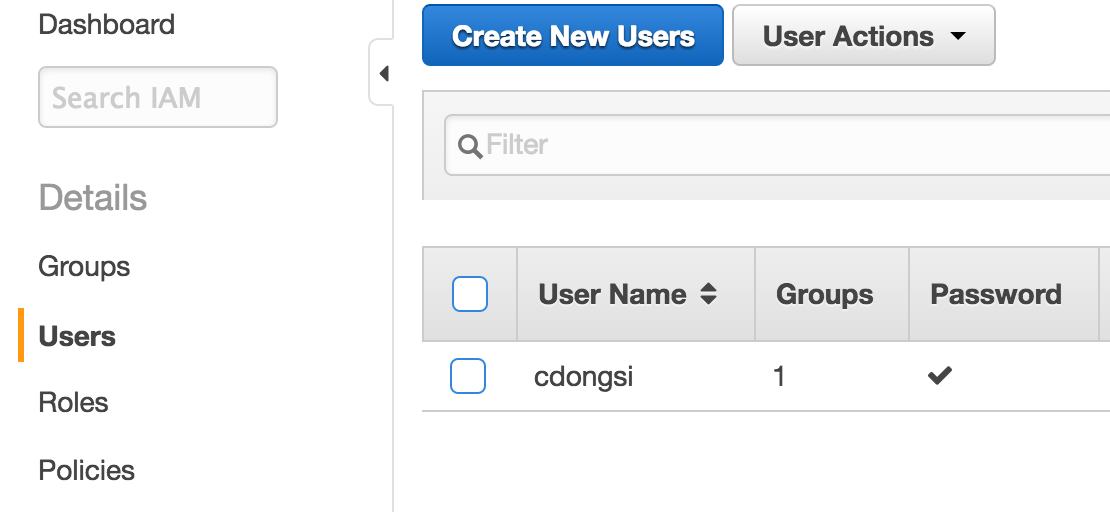
- Click on your username from the list of users.
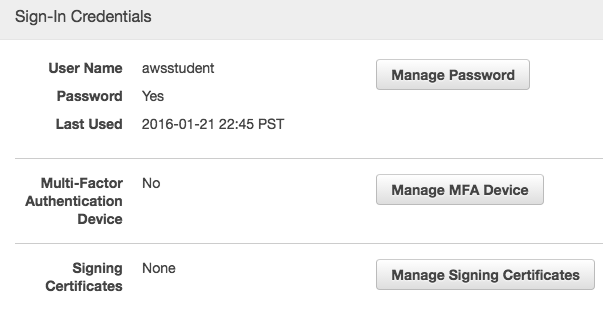
- Make sure that “Security Credentials” tab is selected. Scrolling down to the bottom, under “Sign-in Credentials” section, select “Manage MFA Device”.
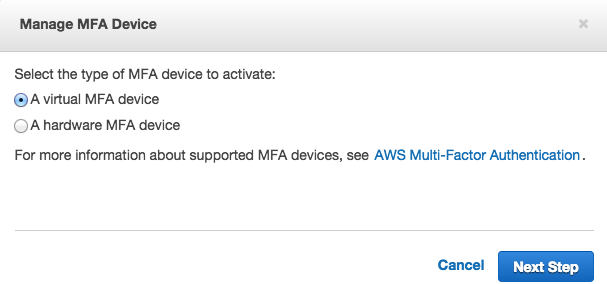
- In the pop-up window, you are allowed to choose a virtual MFA device or a physical MFA device. The most convenient option is a virtual MFA device which only requires you to have a smartphone with some AWS MFA-compatible application. The list of AWS MFA-compatible applications are listed in here.
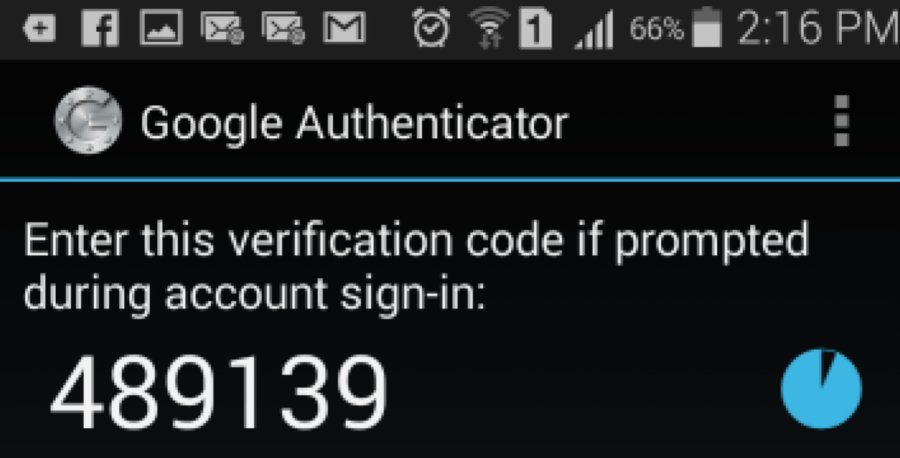
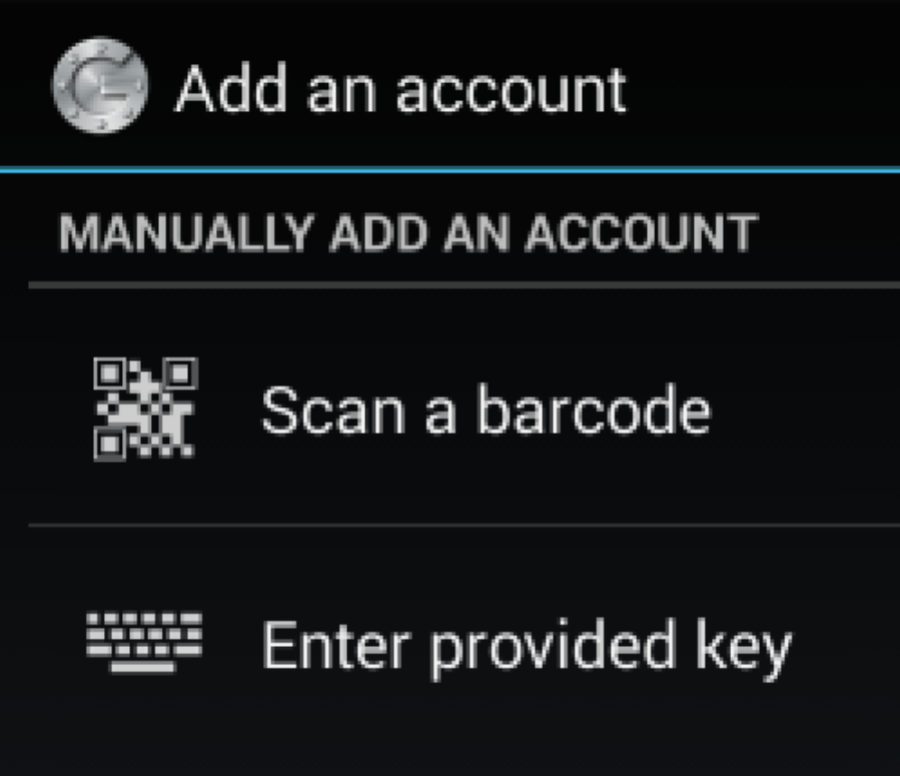
- In my case, I use Google Authenticator. After installing the app, simply add an account and select “Scan a barcode”.
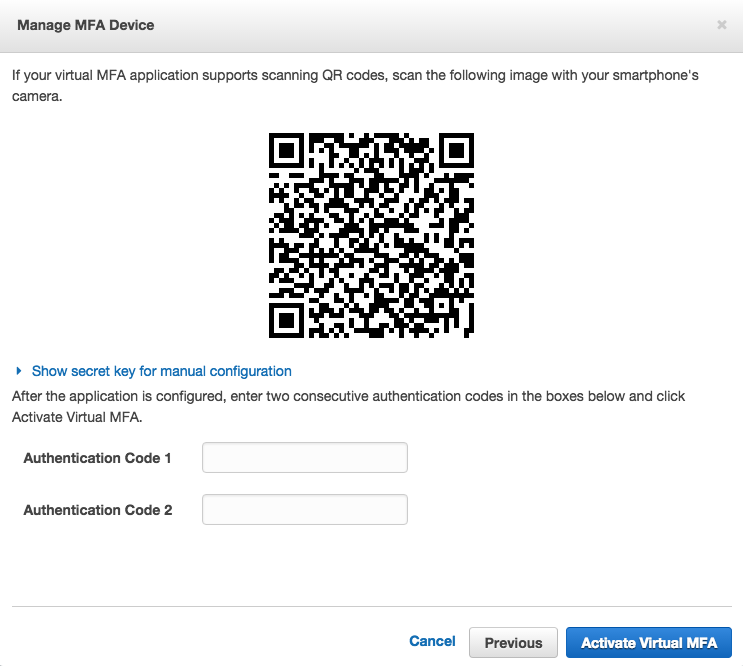
- Follow the prompts on AWS MFA webpages to arrive at the following page with QR code. You will then enter the first 6 digit PIN from Google Authenticator into Code 1 box. Wait for it to change and then add the second code into Code 2 box.
- You are now all set for MFA. All future accesss will require you to enter the MFA code from the Google Authenticator on your Android/iPhone during login.
