This posts will show how to setup IntelliJ for development of Jenkins Groovy Init Scripts and shared libraries, including auto-complete for Jenkins pipeline steps. This is based on my original write-up in this project.
NOTE: this setup is NOT intended for Jenkins plugin or core development.
Start a new Gradle project
It is best to start a new project:
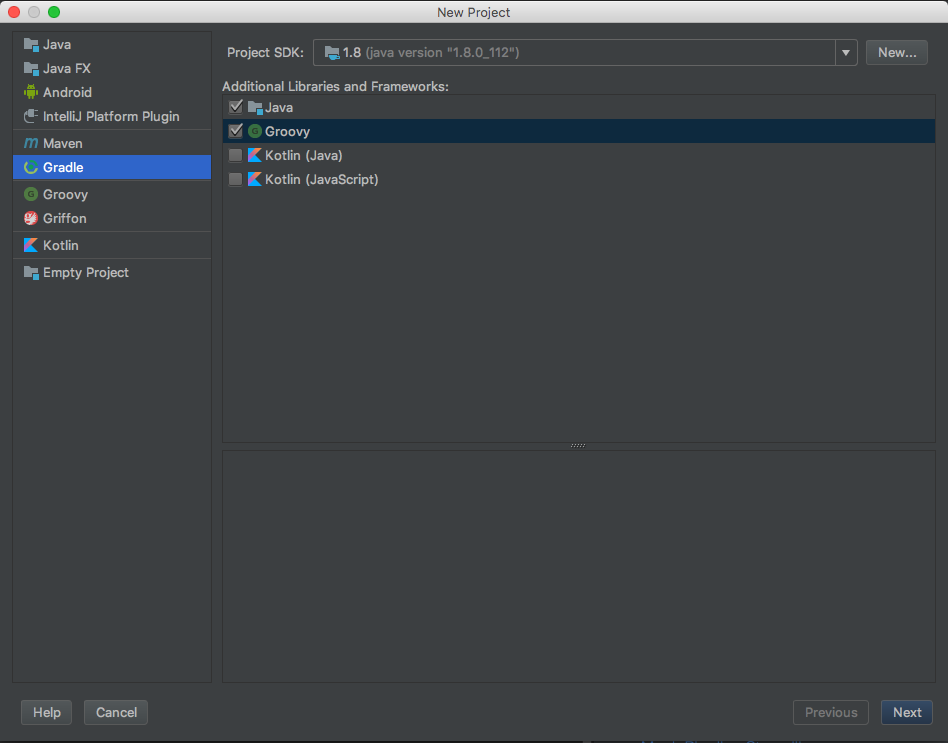
- Select File | New Project
- Select Gradle
- Select Java AND Groovy
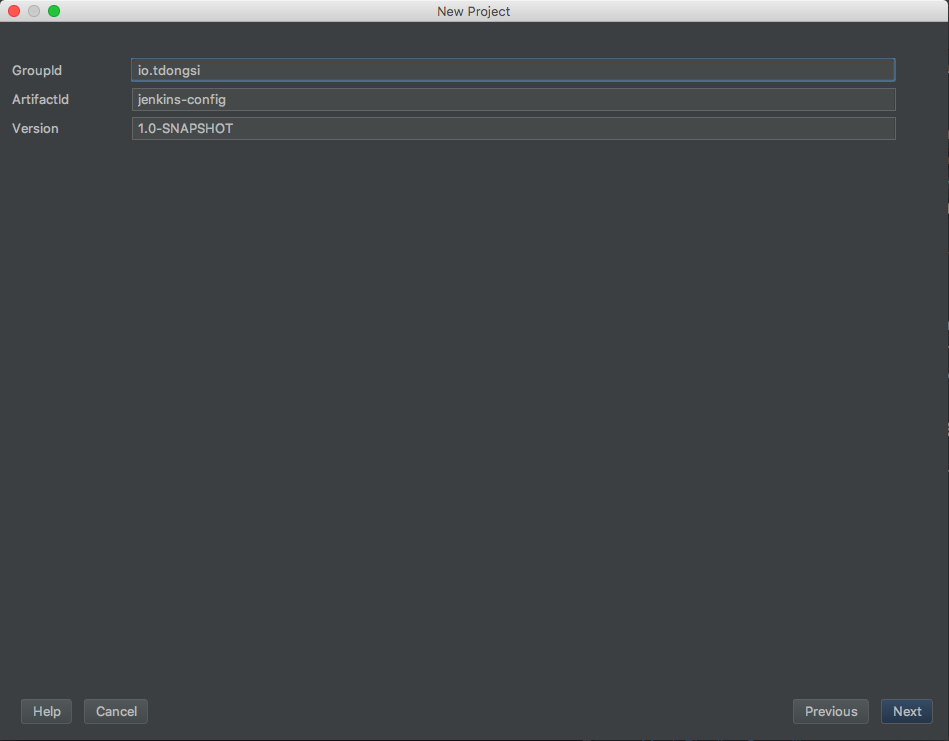
- Choose GroupId and ArtifactId
- Enter path to Gradle. For Gradle on Mac installed via Homebrew, the Gradle home is like this:
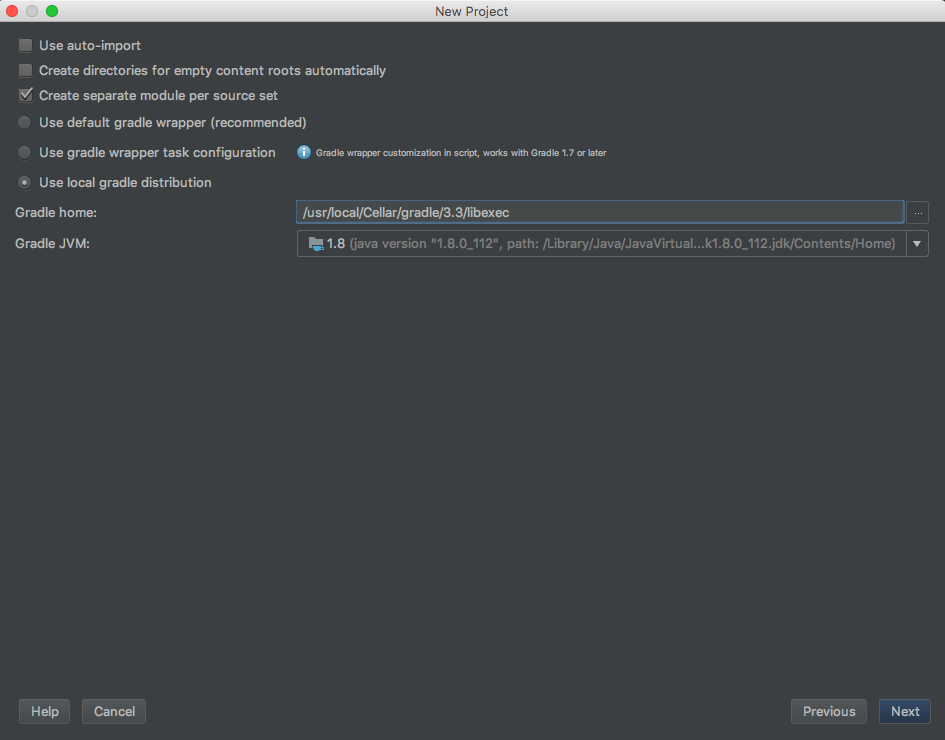 NOTE: For Gradle installed on a Mac via Homebrew, the path “/usr/local/opt/gradle/libexec” may be preferrable to “/usr/local/Cellar/gradle/X.X/libexec” since the former will stay the same after Gradle version upgrades.
In addition, if you work extensively with Grails/Gradle/Groovy, you may prefer installing via
 sdktool instead of Homebrew. - Choose Project name and Project Location
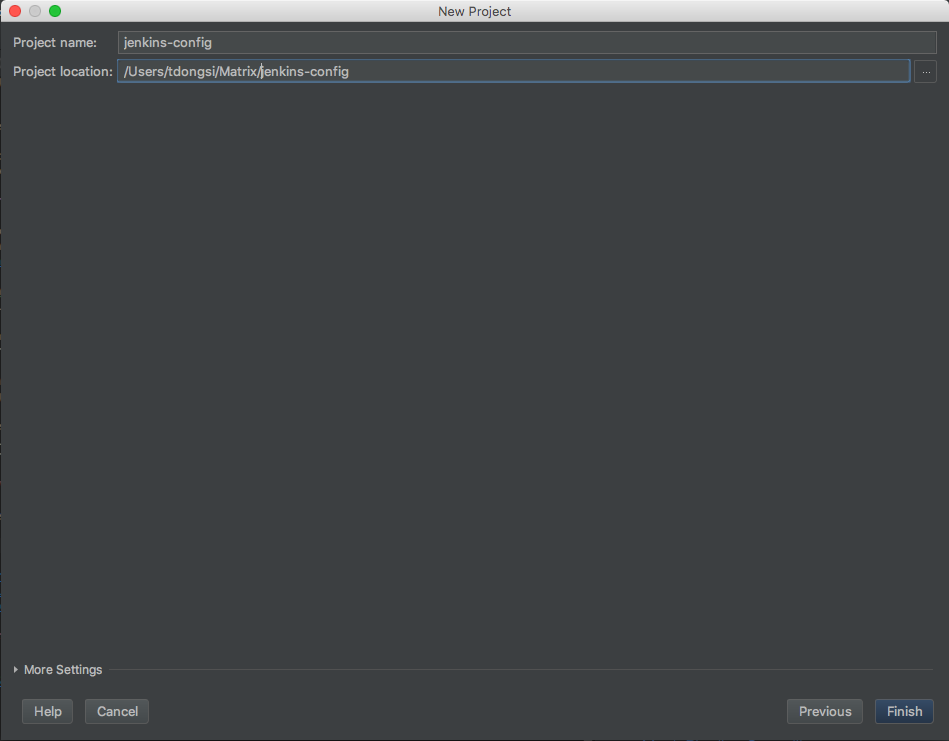
- Finish
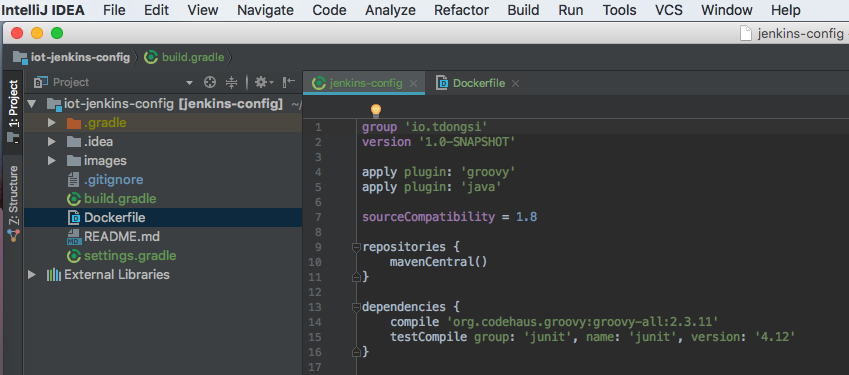
Configure IDEA
Set up for Jenkins Plugins files which are of types .hpi or .jpi.
- Select IntelliJ IDEA | Preferences | Editor | File Types
- Select Archive
- Select + at the bottom left corner
- Add both .hpi and .jpi
- Select OK
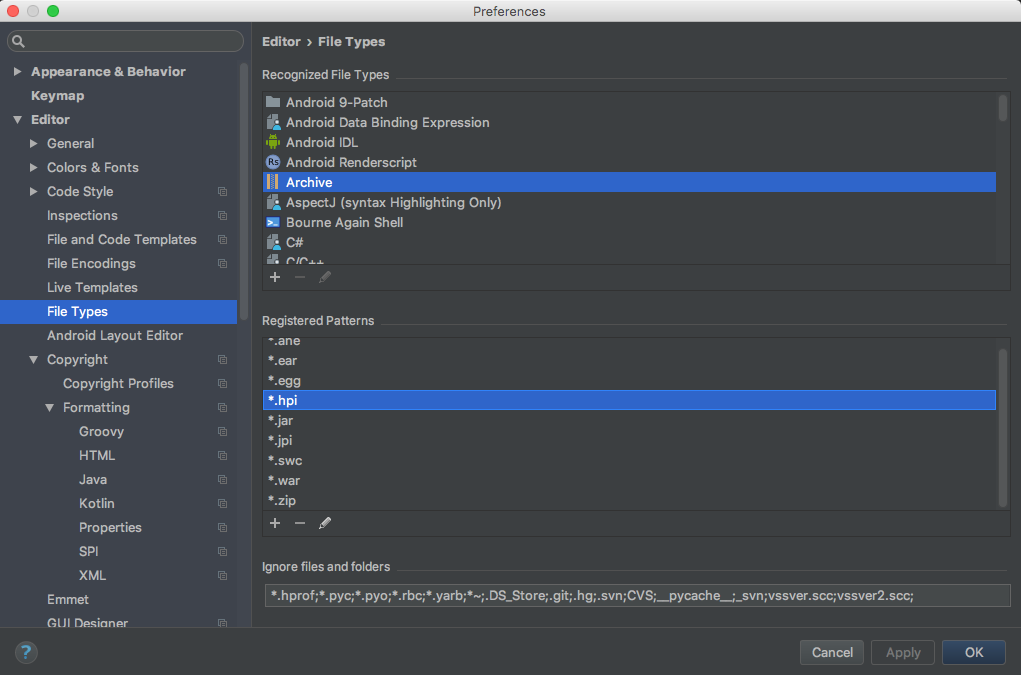
Modify build.gradle to add the following lines.
1 2 3 4 5 6 7 8 9 10 | |
The above example will grab Jenkins core libraries, Matrix Authorization Plugin hpi, other plugin dependencies and javadocs for all imported libraries. Having these libraries imported will enable code auto-completion, syntax checks, easy refactoring when working with Groovy scripts for Jenkins. It will be a great productivity boost.
NOTE 1: The last line compile fileTree is the last resort for any Jenkins plugins that you cannot find the right group ID and artifact ID.
It is rare these days but such cases cannot be completely ruled out.
NOTE 2: The ext: 'jar' is VERY important to ensure that jar files, instead of hpi/jpi files, are being downloaded and understood by IntellJ.
Without that ext option specified, IntellJ won’t find JAR files nested in hpi/jpi files which is the default binaries for Jenkins plugins.
The final build.gradle will look like this. All of the above setup should suffice for working with Groovy Init Scripts. For working with Jenkins Shared Pipeline Libraries, we should take one extra step shown as follows.
Setup for Jenkins pipeline library
All Groovy files in Jenkins shared library for Pipelines have to follow this directory structure:
1 2 3 4 5 6 7 8 9 10 11 12 | |
Note that the Groovy code can be in both src
and vars folders.
Therefore, you need to add the following lines in build.gradle to inform Gradle locations of Groovy source codes:
1 2 3 4 5 6 7 8 9 10 11 12 13 | |
Optionally, for unit testing Jenkins shared library, we have to add the following dependencies into our build.gradle file.
1 2 | |
Please see this blog post for more details on unit testing. The final build.gradle will look like this.
Auto-completion for Jenkins Pipeline
IntelliJ can’t auto-complete Jenkins pipeline steps such as echo or sh out of the box.
We have to make it aware of those Jenkins pipeline DSLs, via a generic process explained here.
Fortunately, it is much easier than it looks and you don’t have to actually write GroovyDSL script for tens of Jenkins pipeline steps.
Jenkins make it easy by auto-generating the GroovyDSL script and it is accessible via “IntelliJ IDEA GDSL” link, as shown in screenshot below.
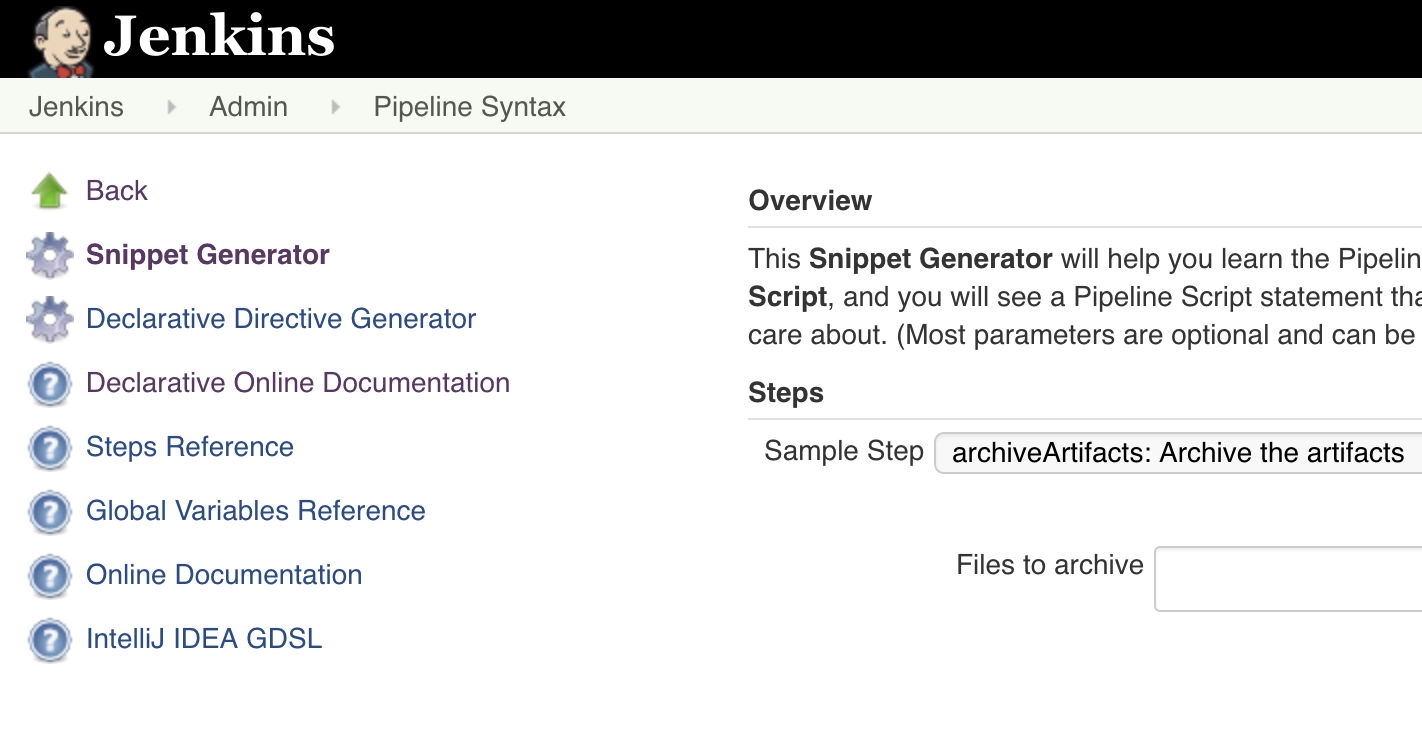
The “IntelliJ IDEA GDSL” link can be found by accessing “Pipeline Syntax” section, which is visible in the left navigation menu of any Pipeline-based job (e.g., “Admin” job in the example above). After clicking on the “IntelliJ IDEA GDSL” link, you will be able to download a plain text file with content starting like this:
1 2 3 4 5 6 7 8 | |
As you can see, it is a GroovyDSL file that describes the known pipeline steps such as echo and error.
Note that GDSL files can be different for different Jenkins instances, depending on Pipeline-supported plugins currently installed on individual Jenkins instance.
To make IntelliJ aware of the current Jenkins pipeline steps available on our Jenkins, we need to place that GDSL file into a location known to source folders.
As shown in the last section, anywhere in both vars and src folders are eligible as such although I personally prefer to put the GDSL file into vars folder (for example).
After installing the GDSL file into a proper location, IntelliJ may complain with the following message DSL descriptor file has been change and isn’t currently executed and you have to click Activate back to get the IntelliJ aware of the current DSLs. After that, you can enjoy auto-completion as well as documentation of the Jenkine Pipeline DSLs.